
Valve assembly / change
When do I have to dismantle / change my IBC outlet valve?
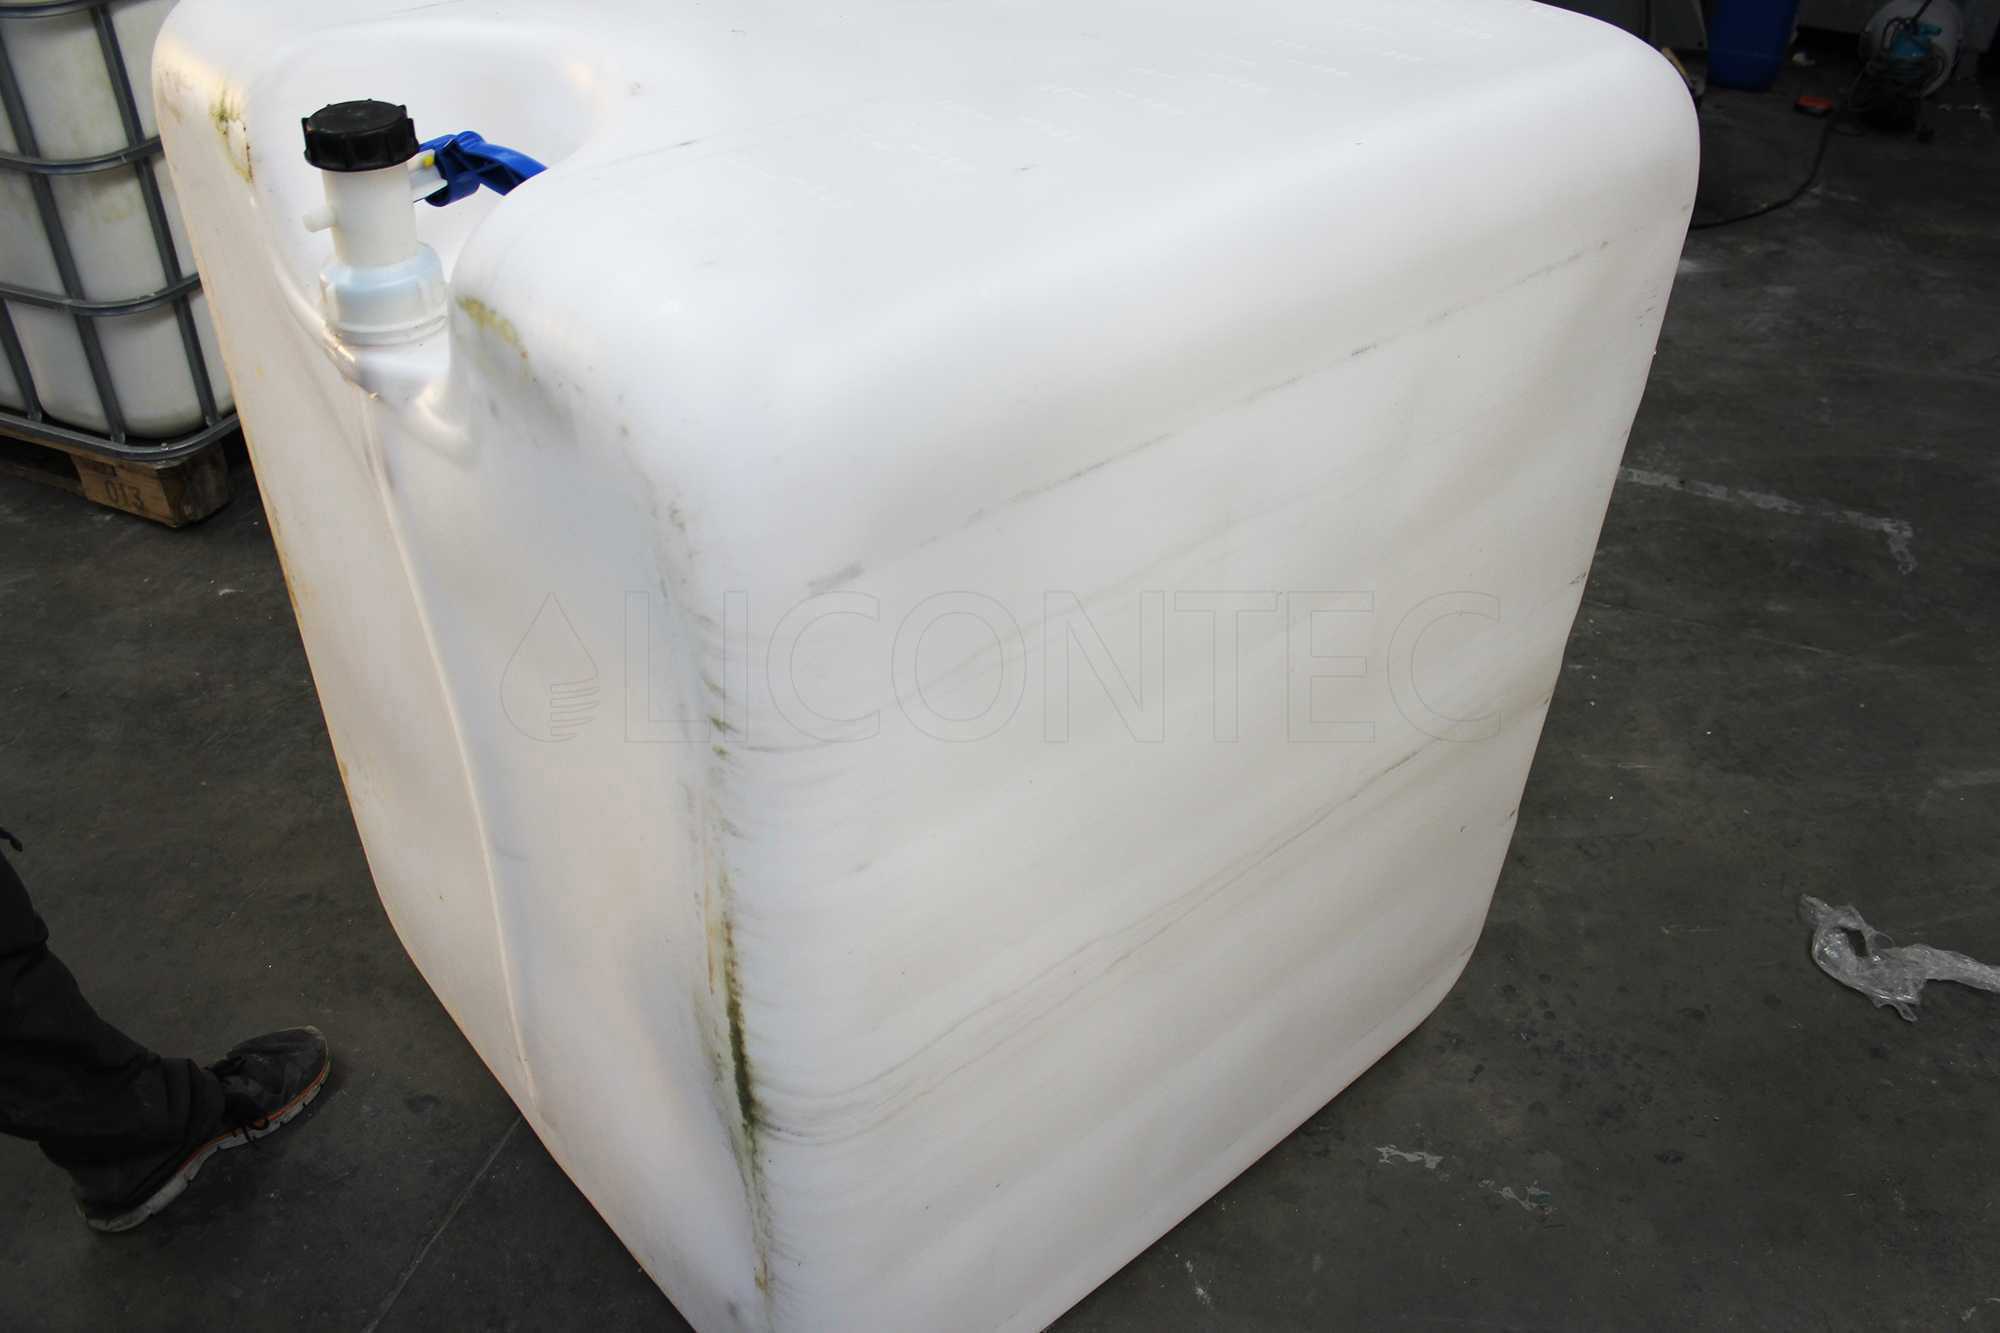
The IBC outlet valve / IBC replacement valve is already mounted on the IBC container at the factory and is one of the basic elements of a water tank. Without the outlet valve, you cannot empty the container. If the tap is damaged, you will not be able to shut off your collected rainwater or stored goods and the IBC tank will leak.
Furthermore, a outlet valve is a wearing part at the same time, accordingly, the valve should be replaced occasionally with a new replacement valve.
What do I have to pay attention to during disassembly?
The IBC replacement valve is always permanently installed or mounted on the container by the manufacturer and was also often mounted by machine. Consequently, the disassembly of the valve with your own muscle power is hardly possible. Therefore, we recommend you to unscrew the outlet valve with the help of water pump pliers.
Procedure - Step by step:
1. Open the grid box
2. Remove the tank bladder / inner container
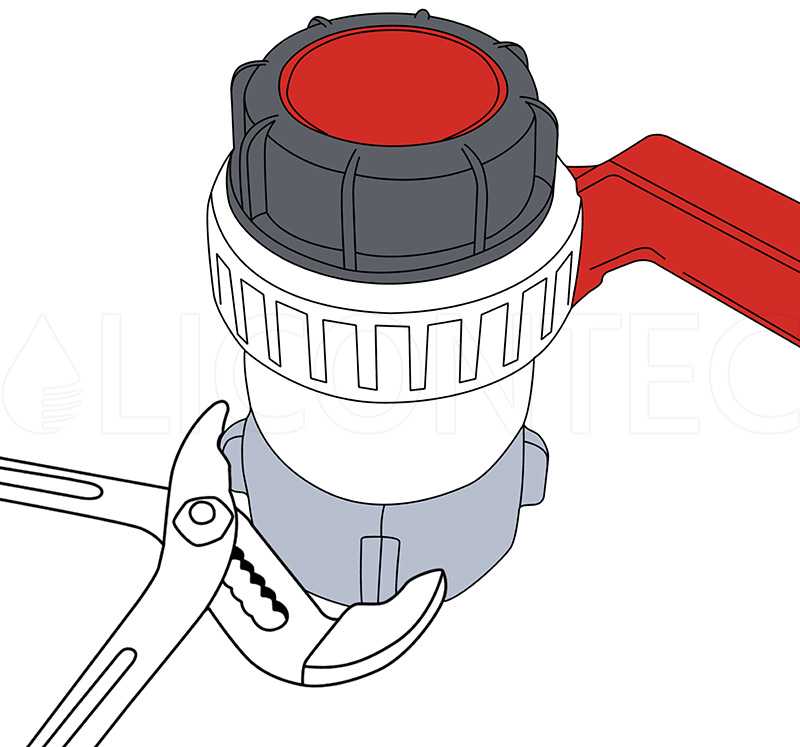
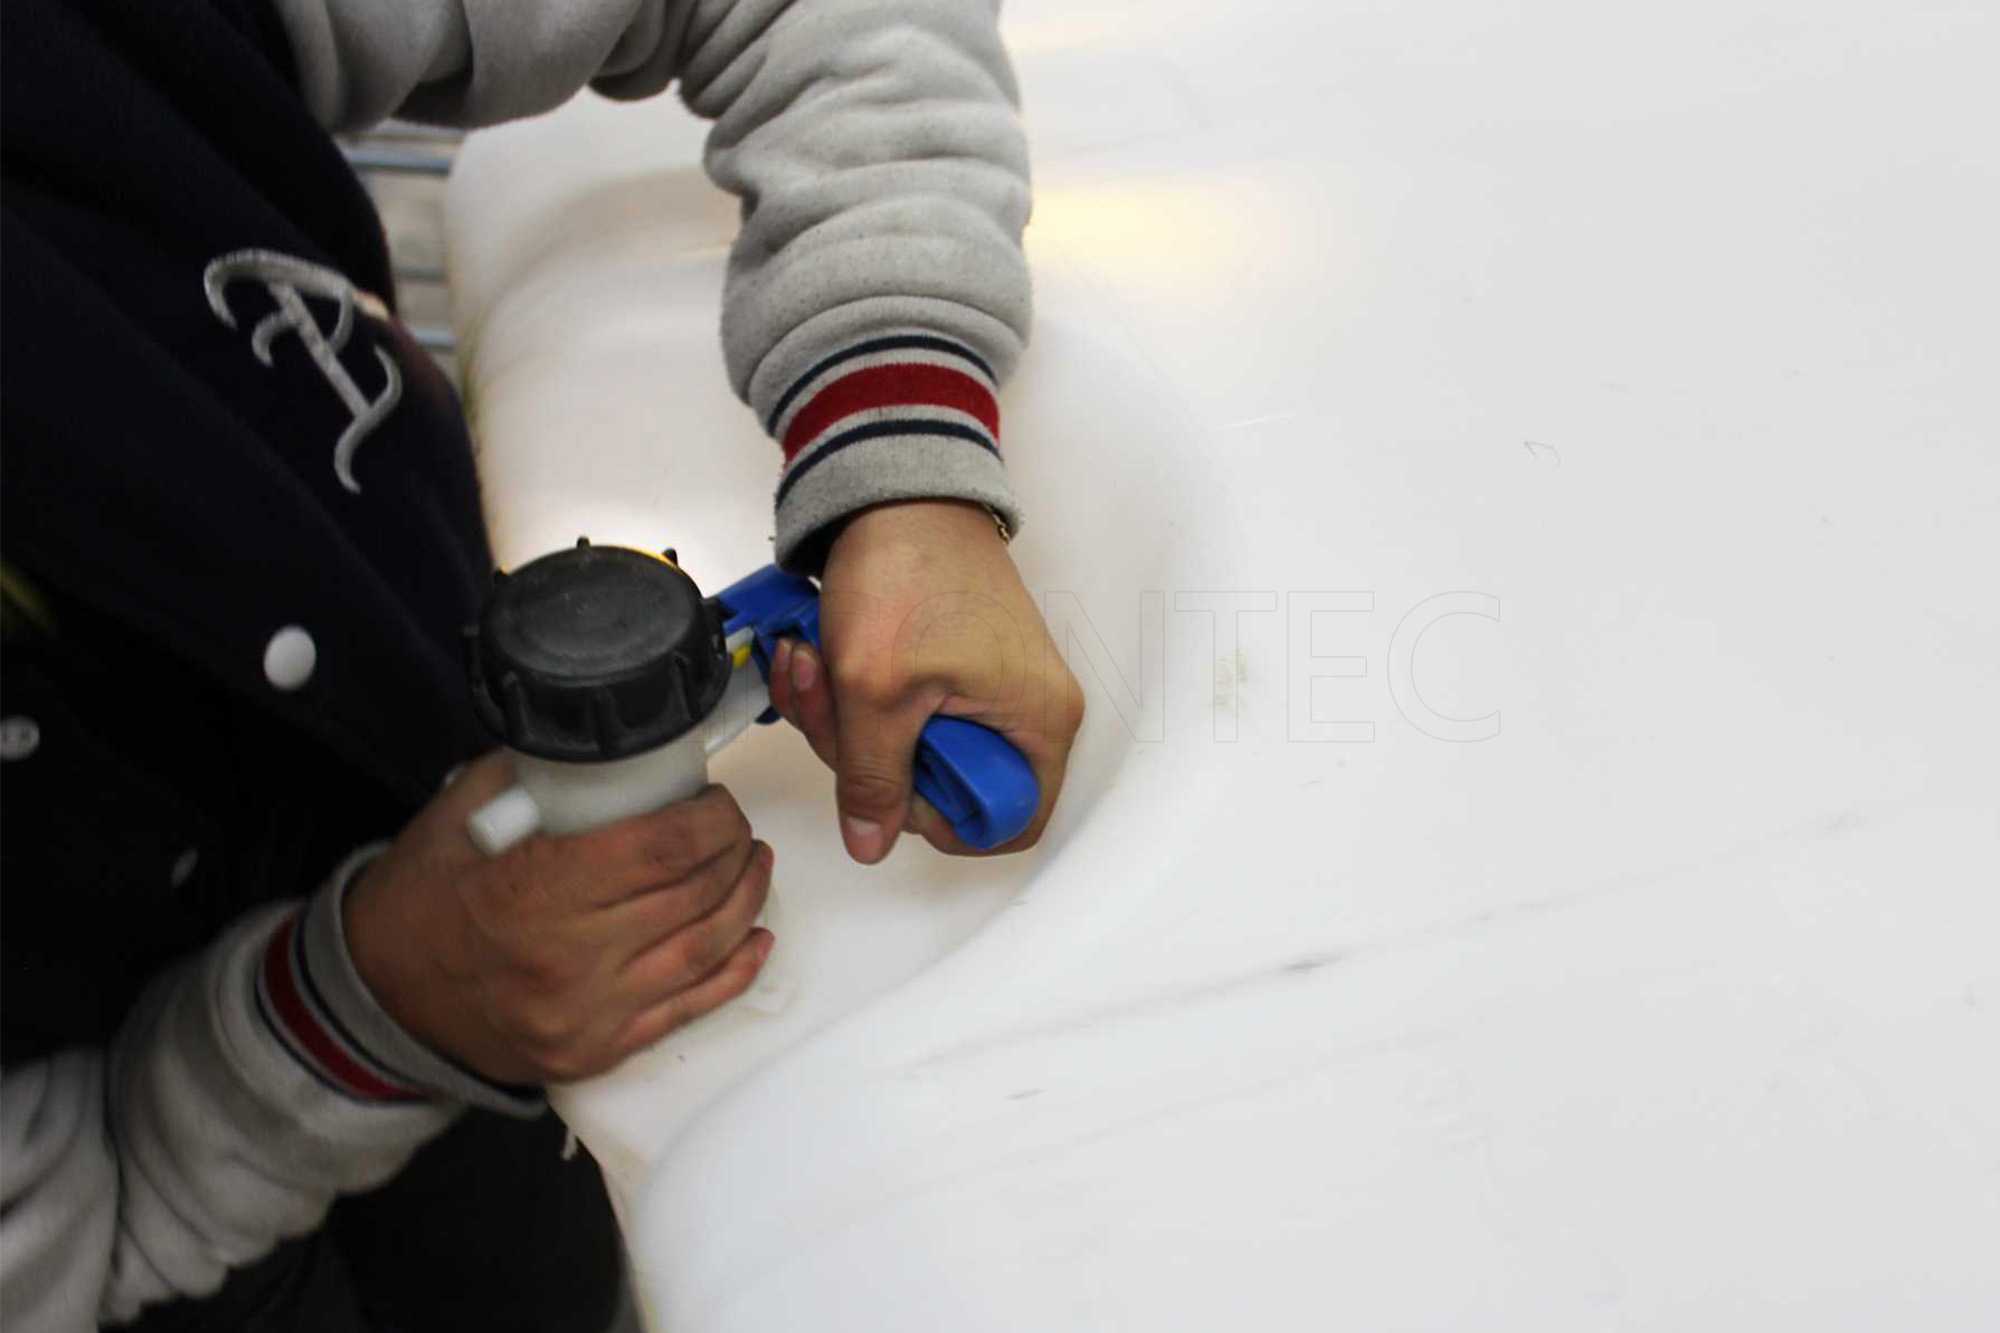
3. Grab the valve at the connecting nut / union nut with a pair of pliers
4. Unscrew the valve
5. Done
Valve assembly
Before and while you mount a new valve on the IBC container, you need to consider a few points! We have prepared a checklist for you:
- Does the size and type of thread (tank connection) match the old valve?
- Did I measure my valve correctly
No? No idea? ➔ Have a look HERE - Is the IBC inner container removed from the grid box?
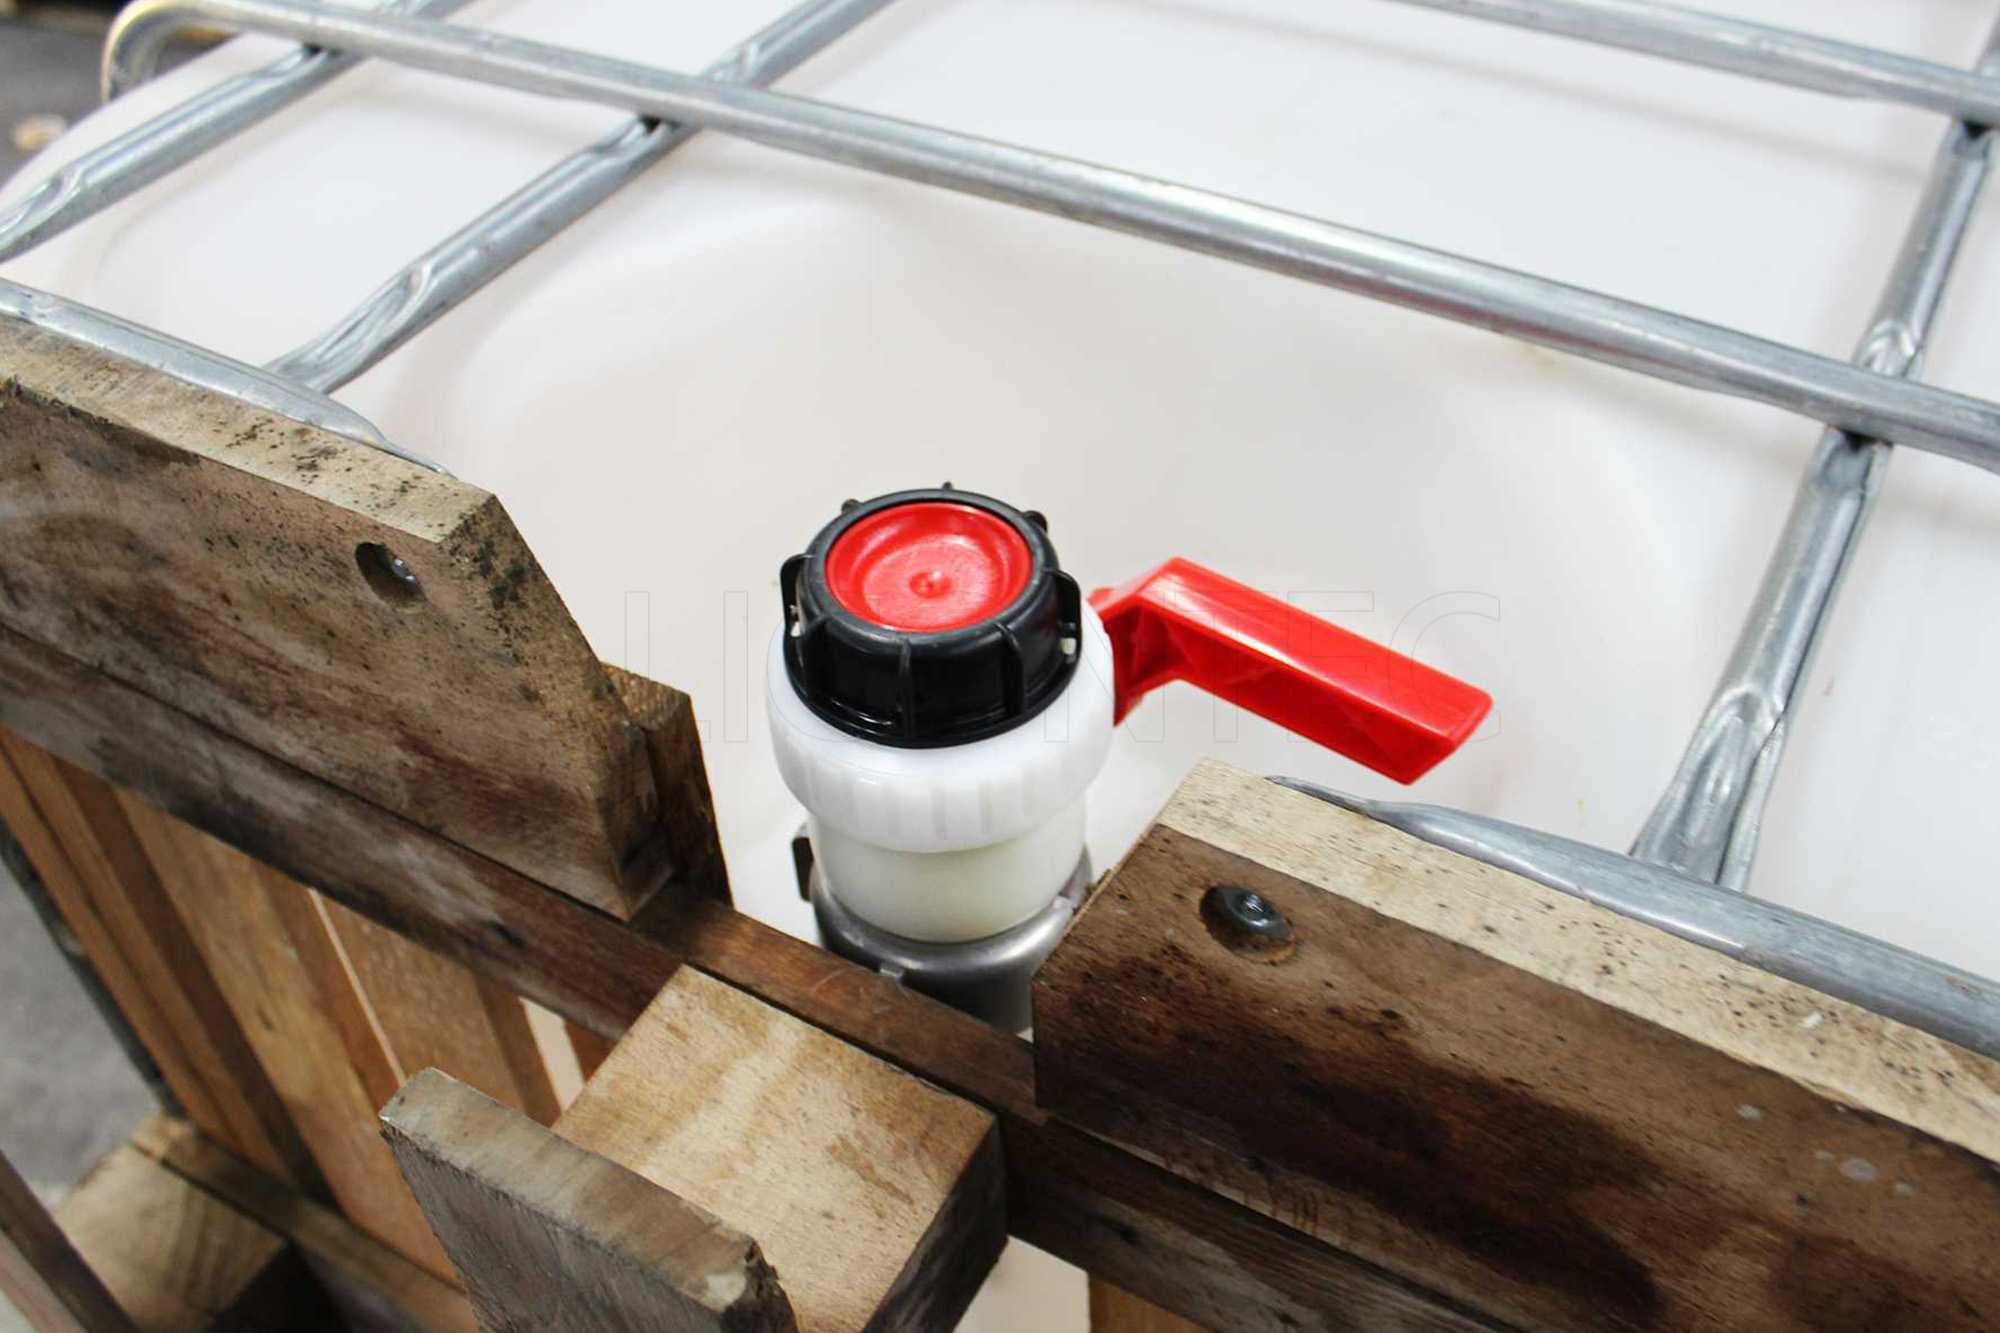
- Is the new IBC replacement valve in a closed position after assembly? If so, you can reinsert the inner container into the grid box without damaging the lever.
We show you how best to proceed with the assembly! Step-by-step!
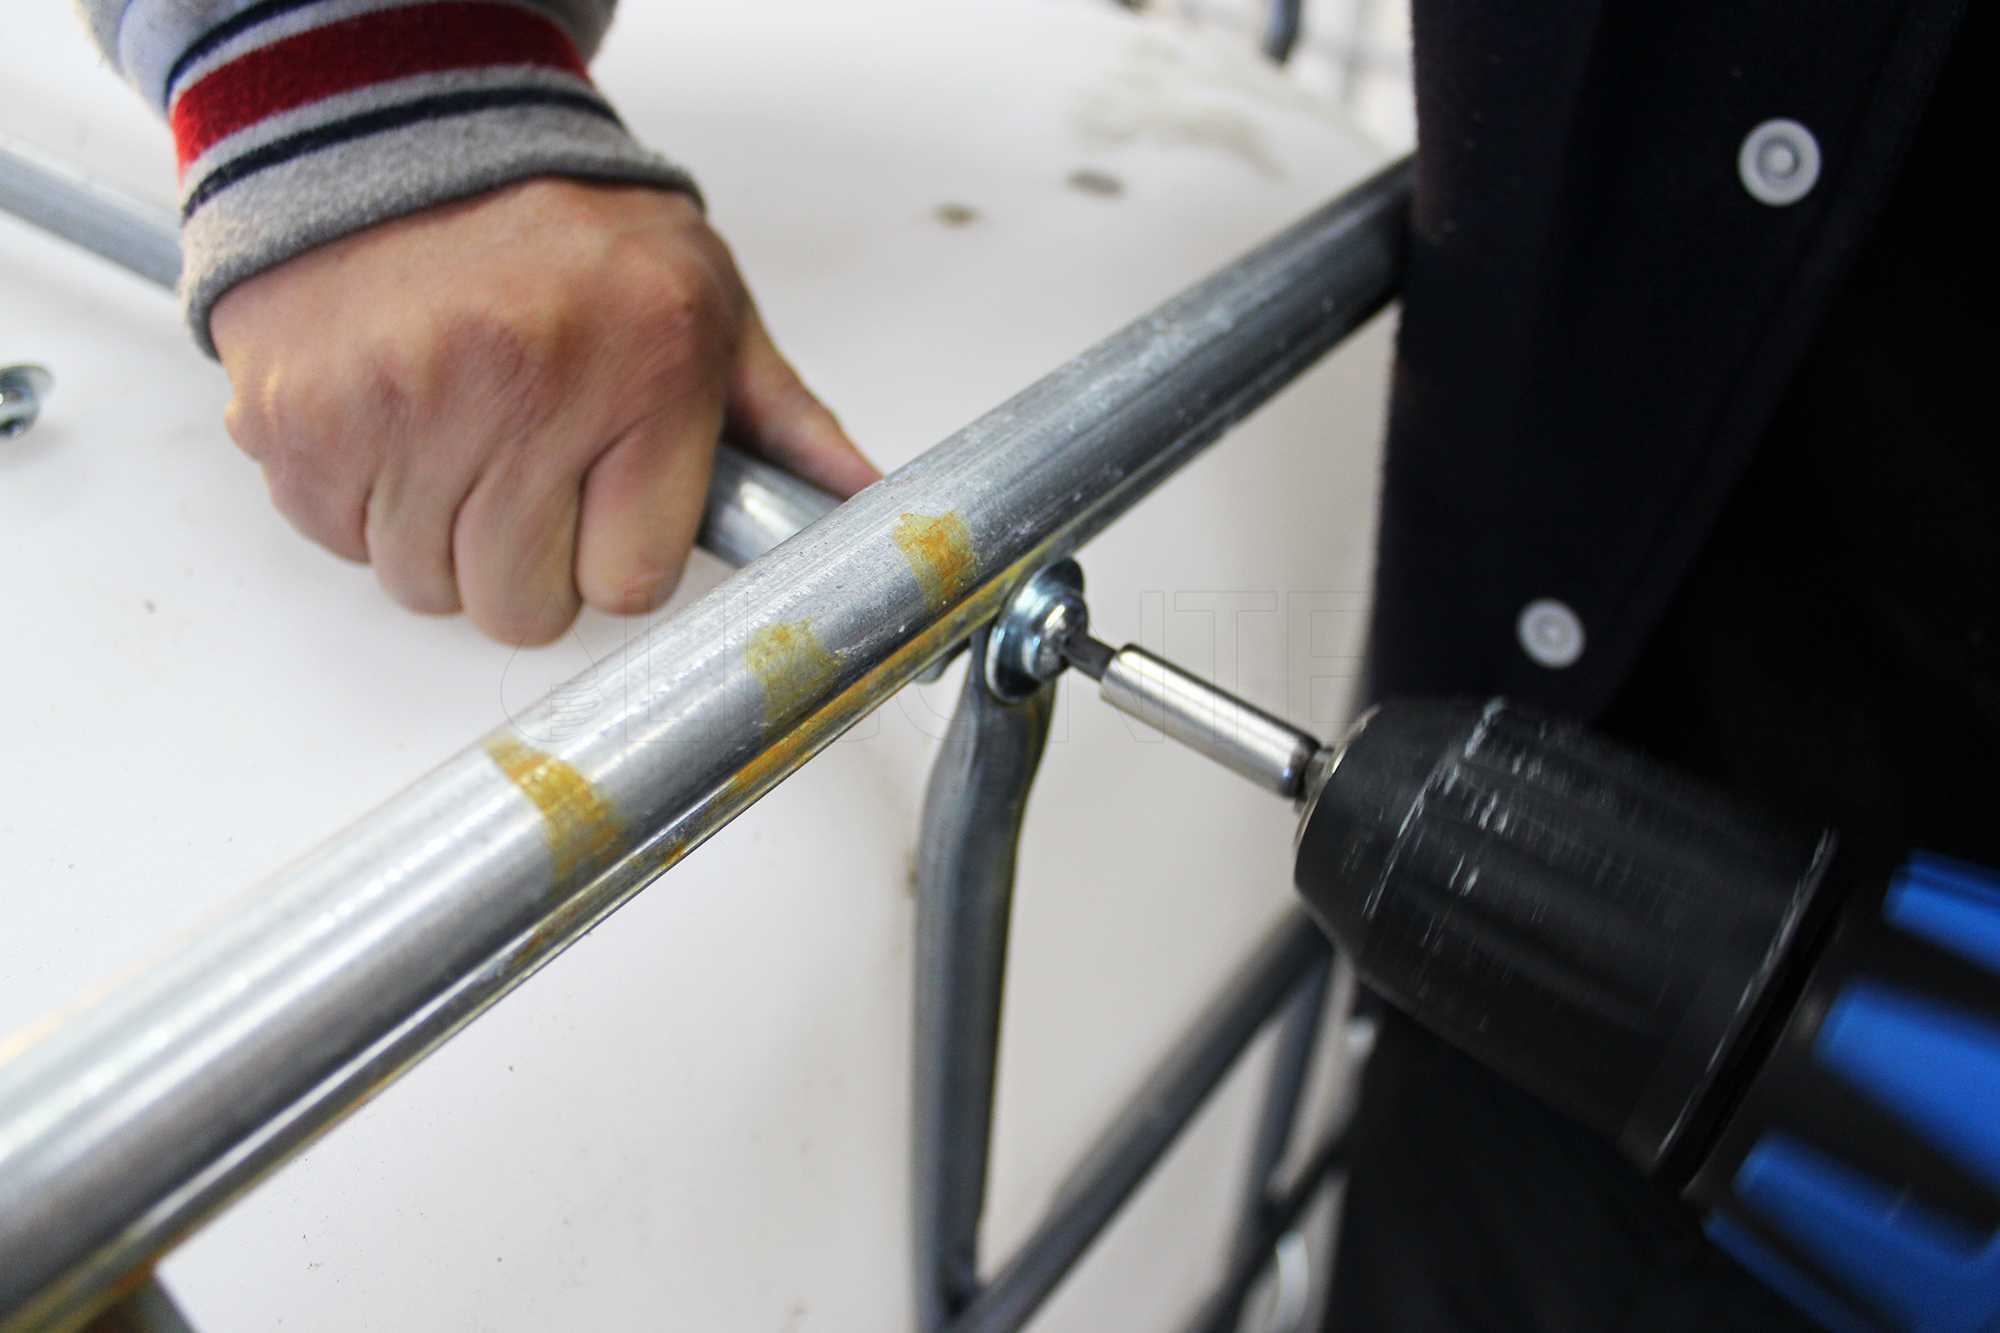
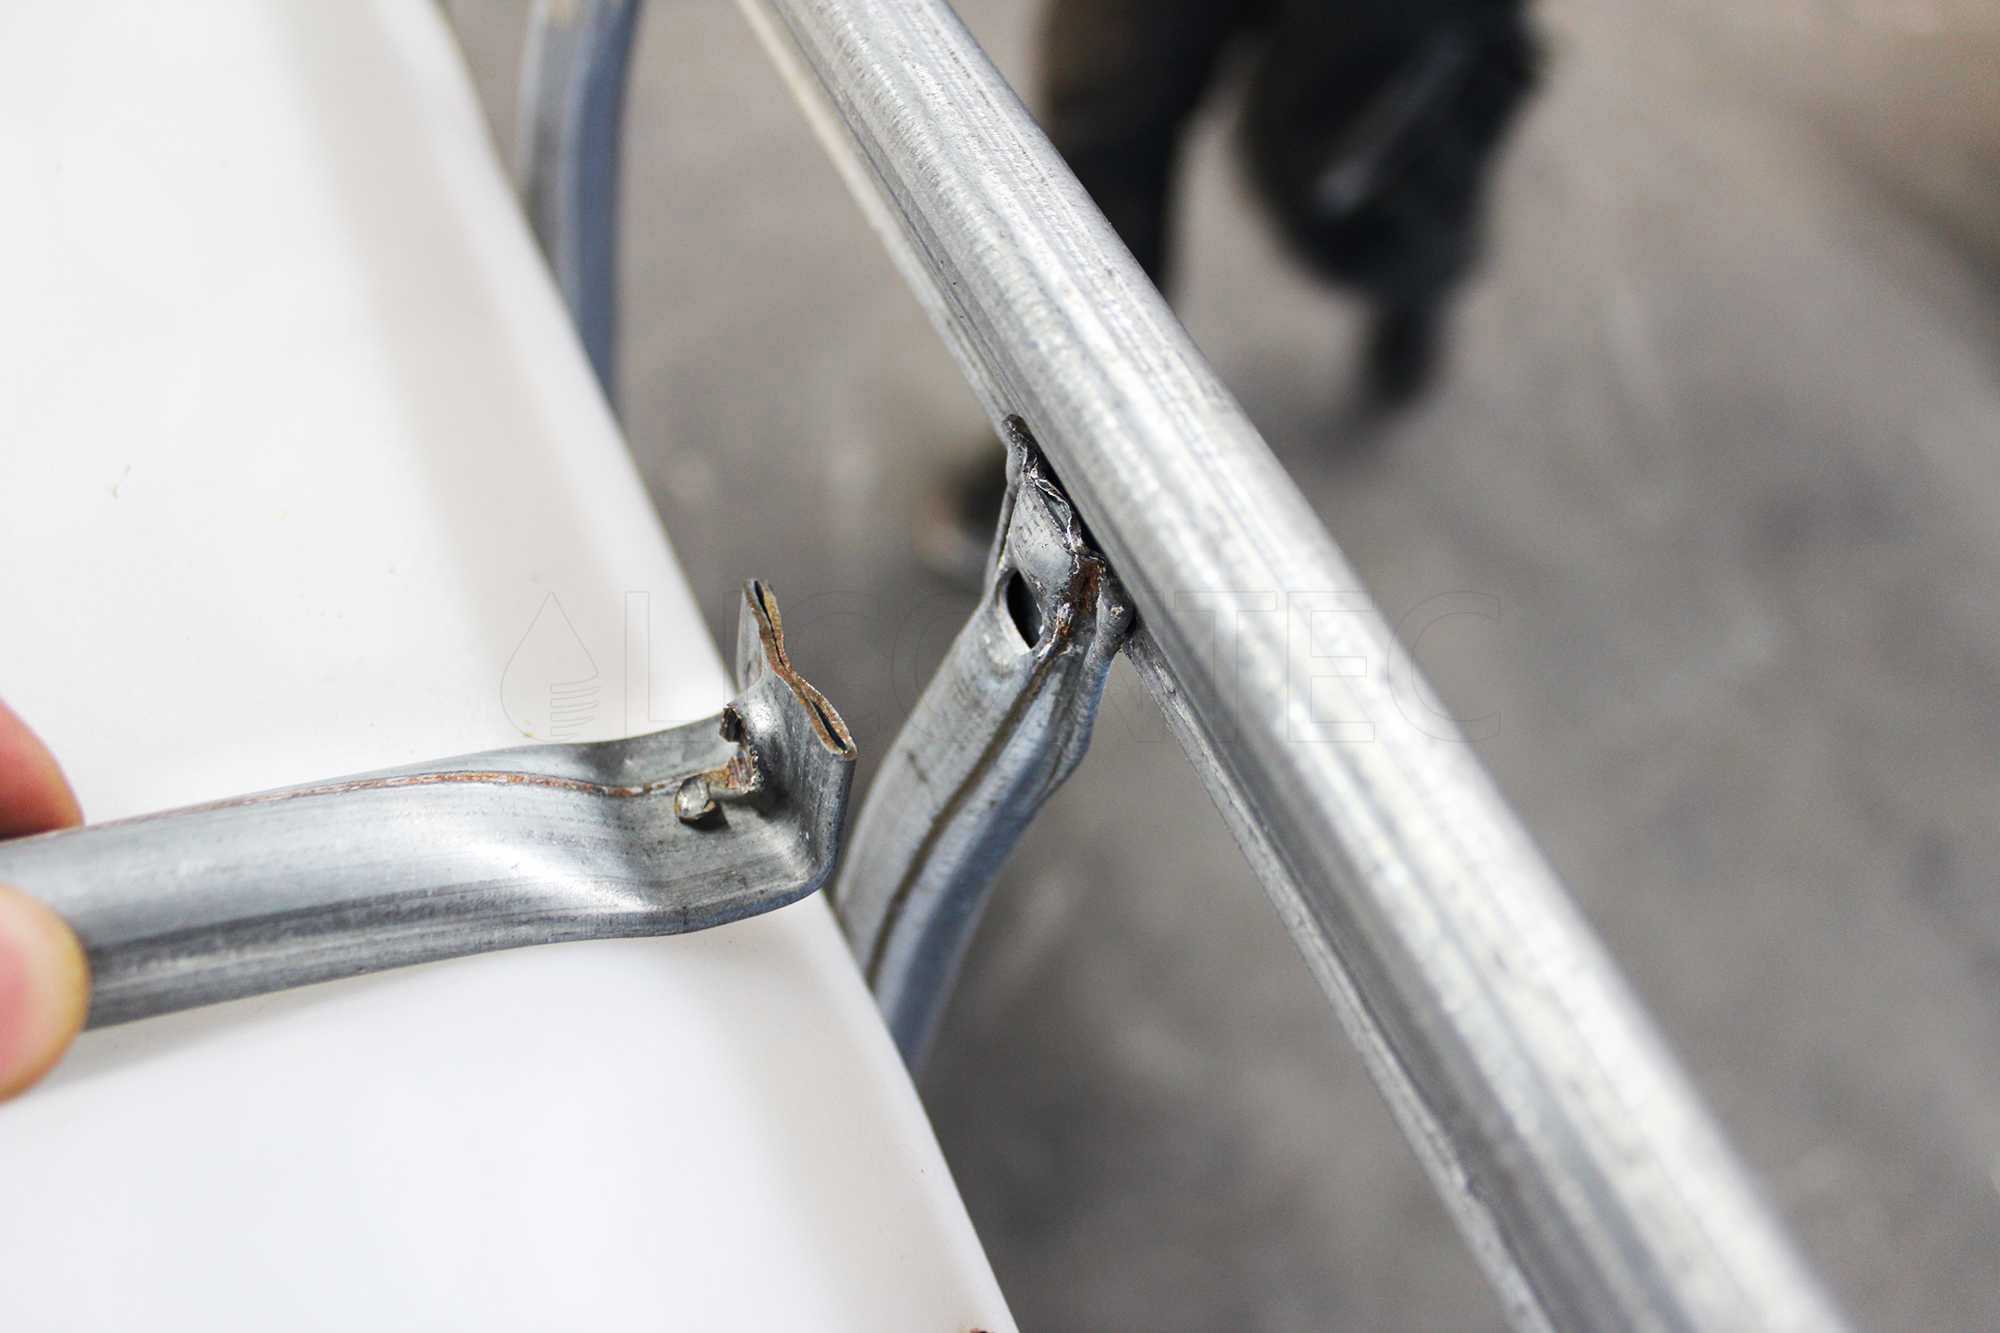
Step 1
Open the struts on the top of the IBC grid box.

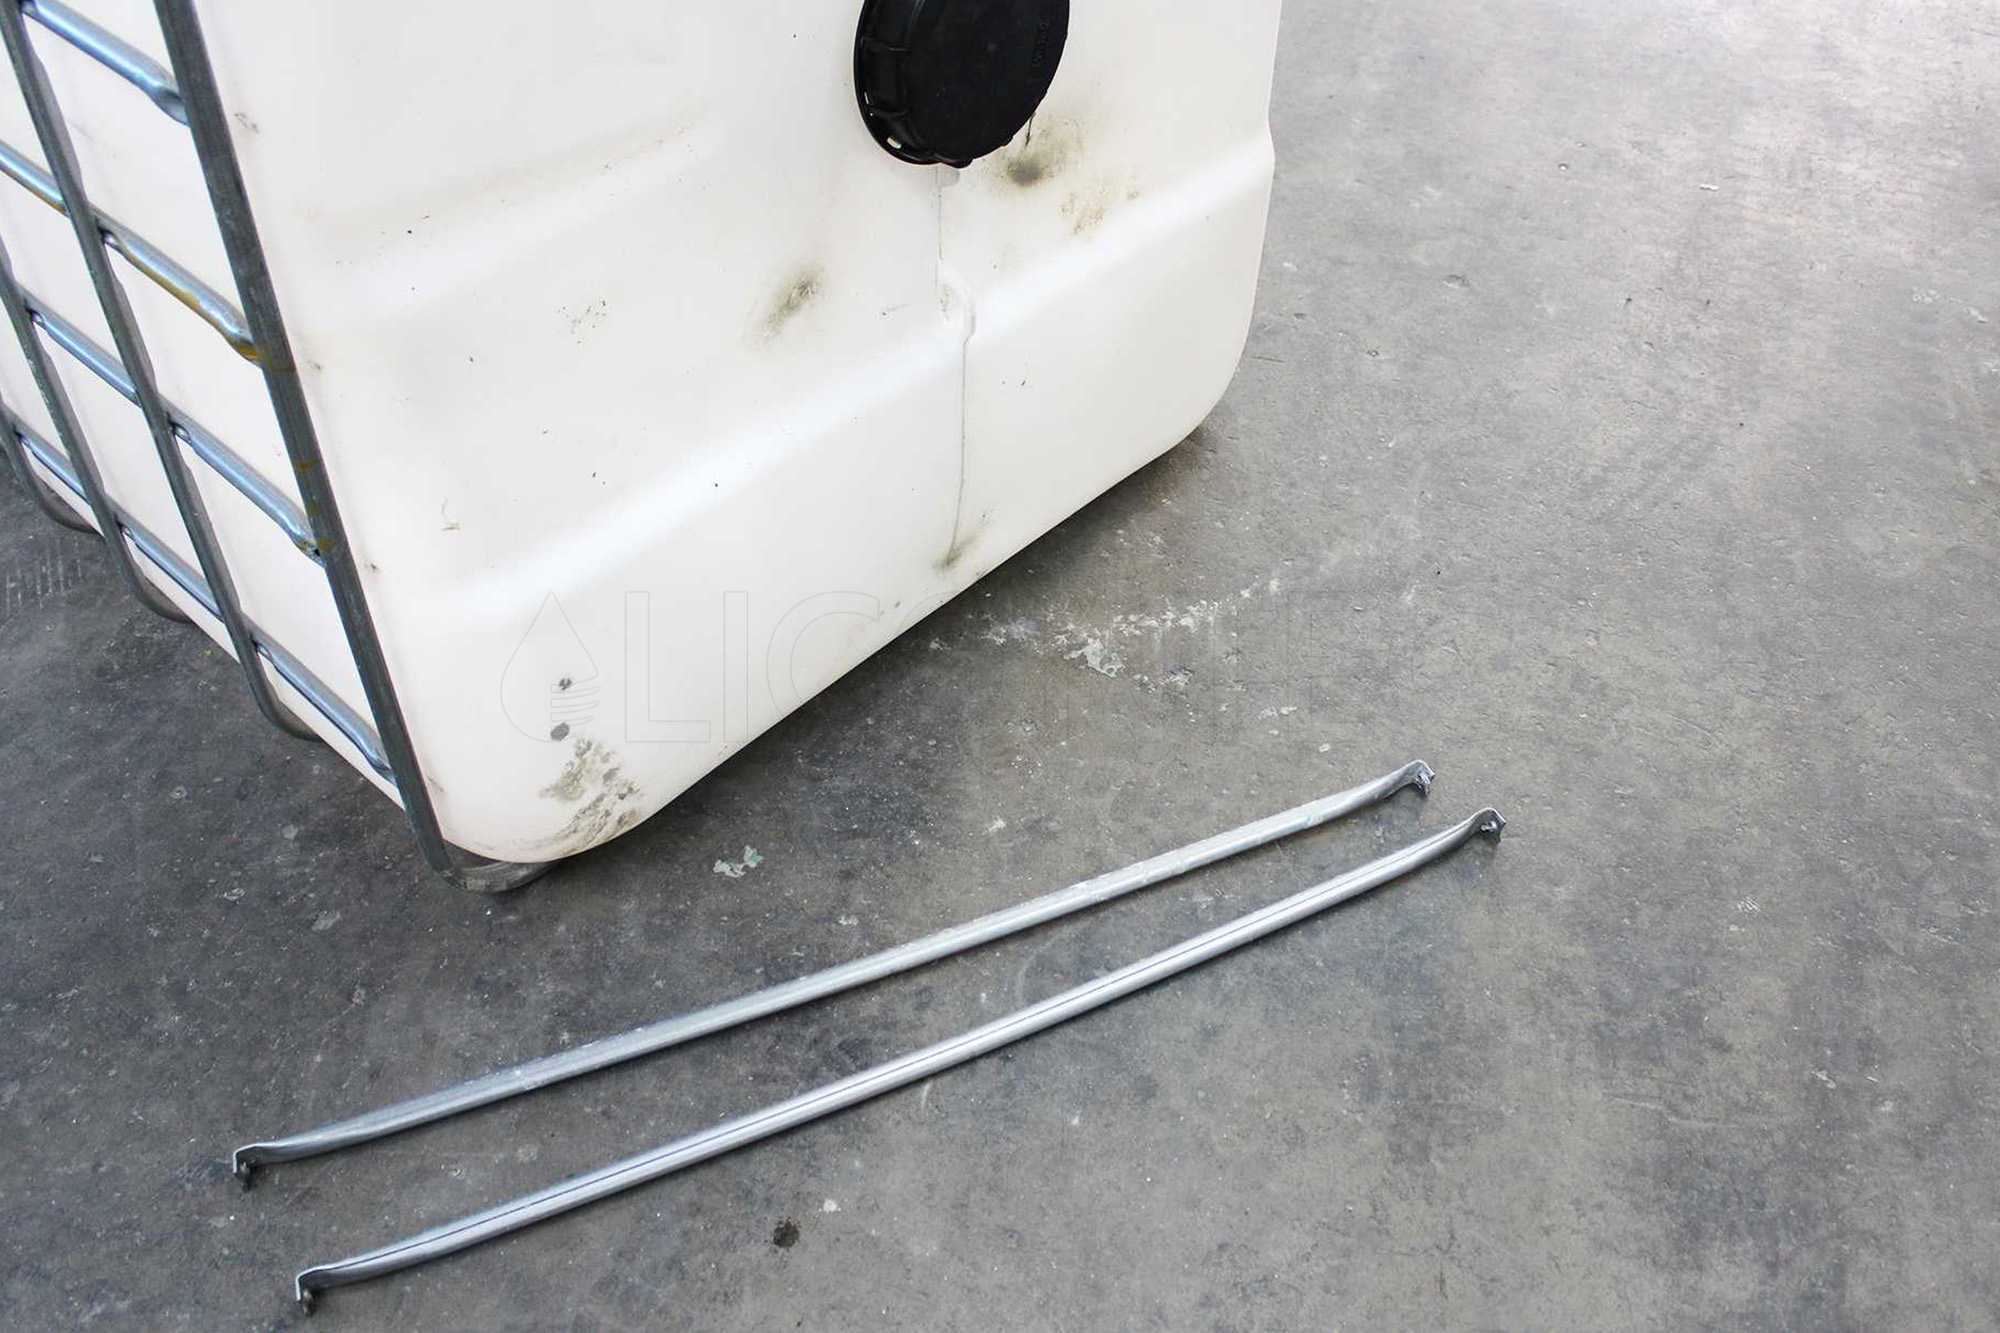
Step 2
Pull the IBC inner container out of the grid box.
Step 3
Unscrew the old IBC outlet valve. We recommend a pair of commercially available pliers to help you.
Step 4
Now mount the new IBC valve as follows:
- Hand tighten until the thread grips
- Tighten with pliers ("hand tighten")
Step 5
In the last step, you can reinsert the IBC inner container into the grid box. Then reattach the struts on the top.